7 Unwritten Rules For Picking The Exact Foundation Shade That Blends Perfectly
These practical tips help people avoid common foundation shade mistakes to get a seamless natural finish.
Many people have had the frustrating experience of bringing home a new bottle of foundation that looked perfectly matched under store lighting, only to find it turns gray, orange or unnaturally pale the second they step out onto the street. This common mishap happens almost never because of low product quality, but due to the way retail stores arrange harsh cool-toned overhead lights that distort the true tone of every liquid product on display. Most shoppers end up testing the shade on the back of their hand in a rush, which has a completely different skin tone and texture compared to the face, so the final result never matches the expectation they set while standing in the beauty aisle.
The first step to nailing the correct foundation shade is to figure out the underlying undertone of natural skin, no matter how light or deep the surface complexion appears. A super simple no-tool check works for every skin type: turn the inner wrist up to observe the color of visible veins under clear natural light, people with mostly blue or purple veins usually have cool undertones, those with mostly green veins belong to warm undertones, and a mix of both indicates neutral undertones that can pull off shades from both sides. People can also do a quick double check by holding a pure silver accessory and a pure gold accessory against the side of their face respectively, the one that makes the whole face look bright and rested instead of dull and washed out points directly to the correct undertone range.
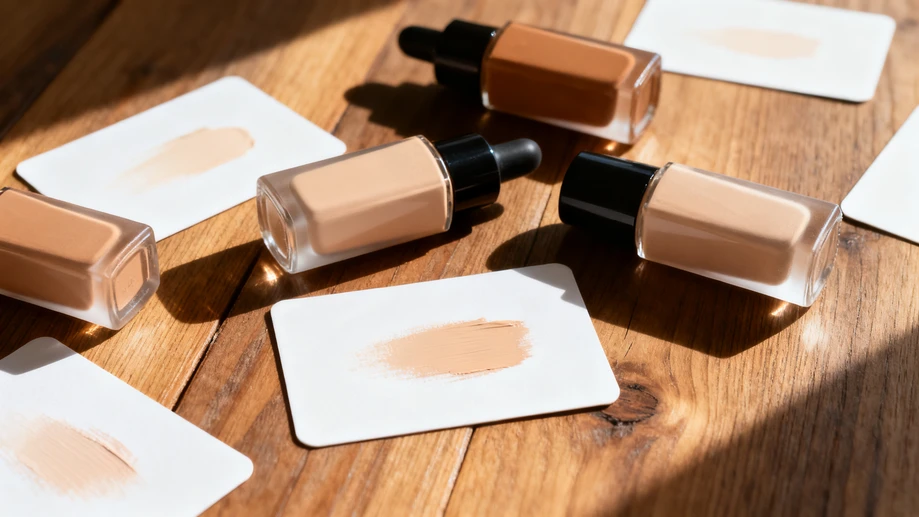
The proper spot to test a swatch of foundation is not the wrist, not the cheek, but the edge of the jawline that connects the face to the neck. Swipe a thin, even line of three different candidate shades along the jaw line, then walk directly to a spot with unobstructed natural daylight, no phone flash no colored indoor lighting added, and observe which swatch melts into the skin line without leaving a visible trace. It is worth noting that most liquid foundation formulas will go through a mild oxidation process 3 to 5 minutes after being exposed to air, so waiting a short while before checking the final effect can avoid picking a shade that looks perfect at first swatch but darkens two full shades after being worn for half a day.
There is no need to toss out a half-used bottle of foundation the second the skin gets a little tan from summer outdoor activities or fades back to paler in cold winter. Minor color differences can be adjusted super easily without purchasing a whole new bottle of product, mix a tiny drop of deeper warm-toned liquid product into the original shade to match tanned summer skin, or add a tiny amount of light adjusting mixing drops to lighten the base for paler winter complexion. This small adjustment also works for people who travel to areas with far stronger sunlight than their hometown, saving them the trouble of carrying three or four different foundation bottles for different scenarios.
One of the most widespread misconceptions around foundation shade selection is that picking one shade lighter than natural skin will create a bright, luminous fair look, but it usually ends up creating an obvious mask line along the jaw that makes the whole makeup look heavy and unbalanced. The most flattering foundation shade never makes people look like they are wearing any base makeup at all, it just covers minor redness and blemishes while making the entire face look like it naturally has even, glowing skin. Even for people who need to build medium to full coverage for special events, sticking to the correct base shade will keep the final makeup look natural instead of fake and cakey, no matter how many layers of product are applied.